Balance Motor Works have recently finished restoring an Audi 90 Quattro (well it started as an engine rebuild but look what we found in the engine bay)
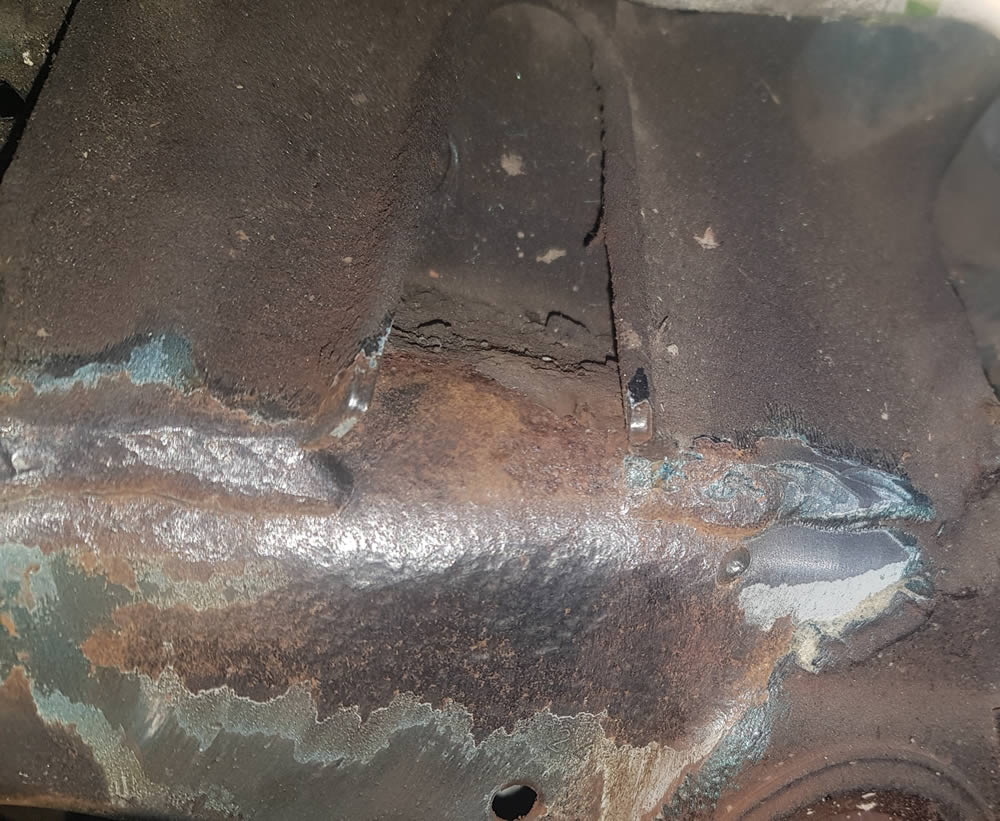
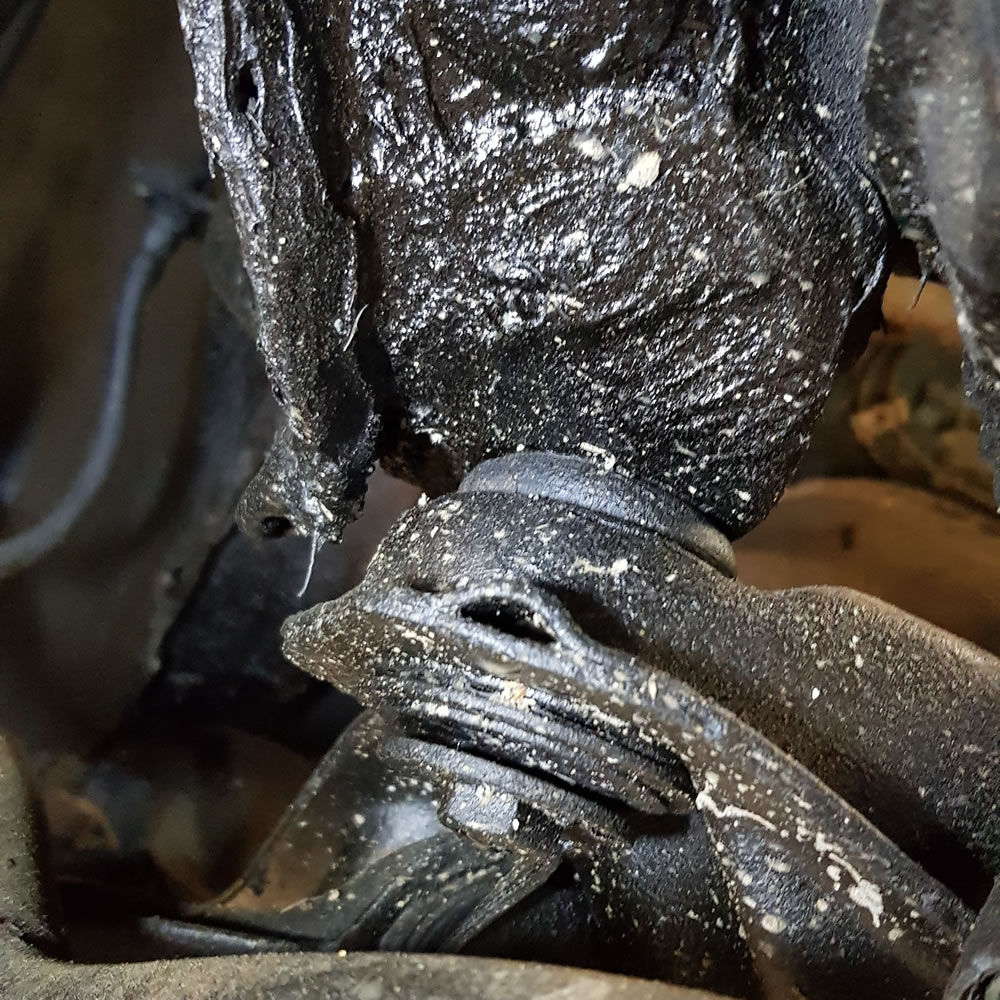
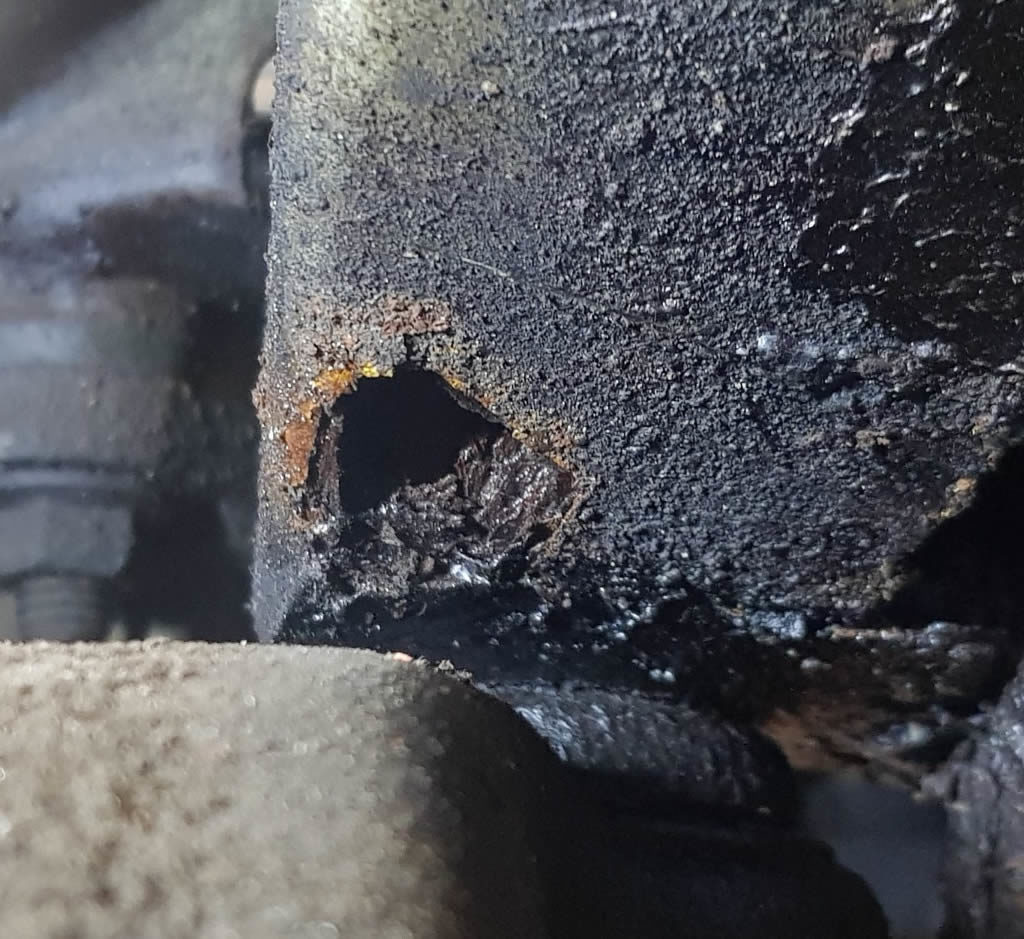
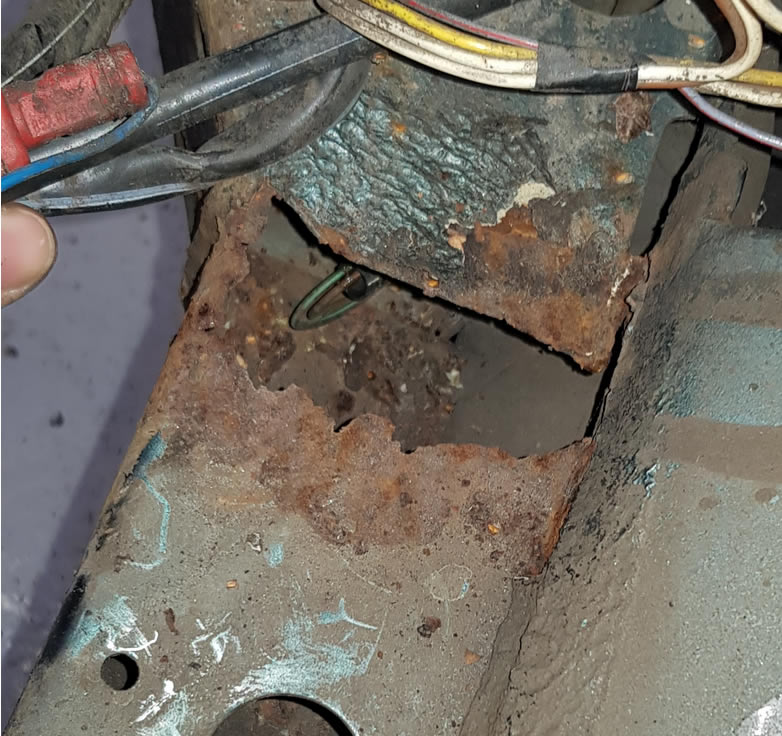
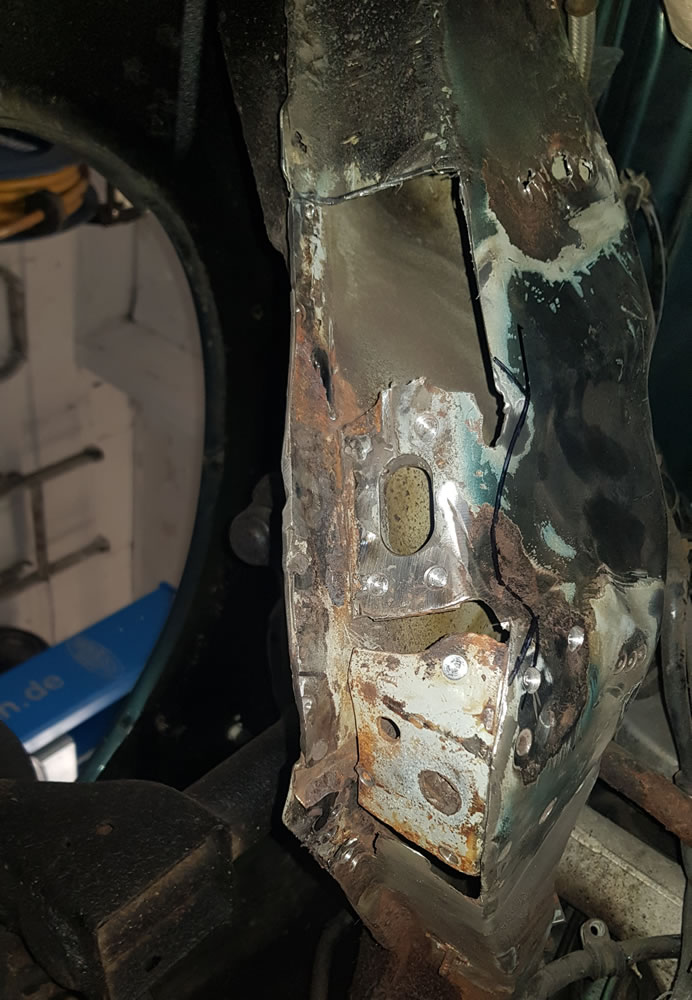
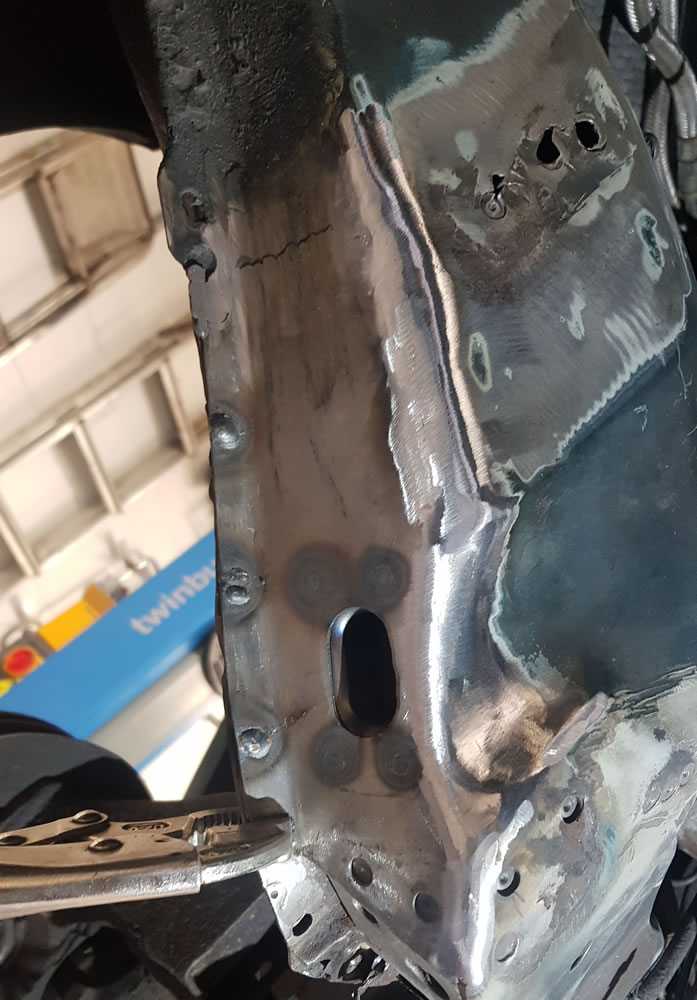
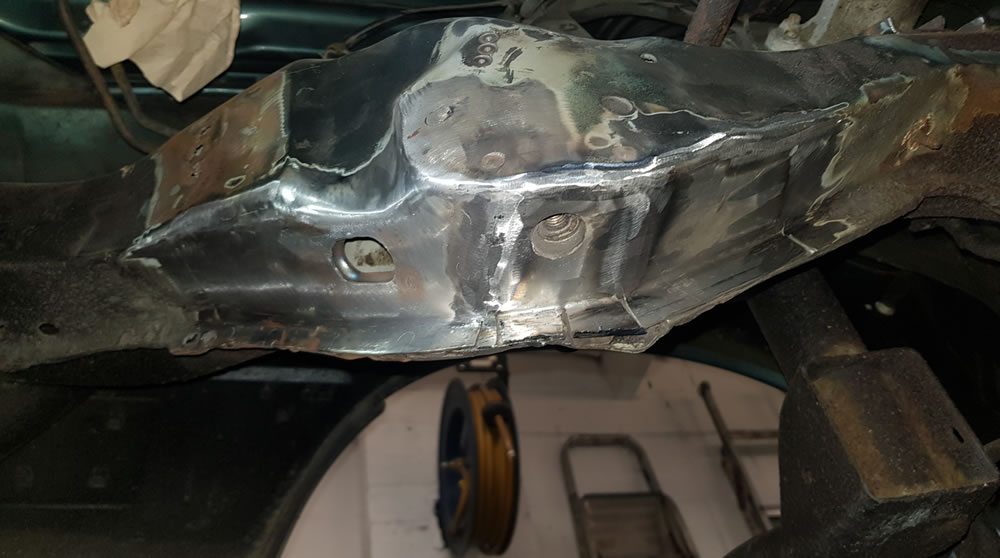
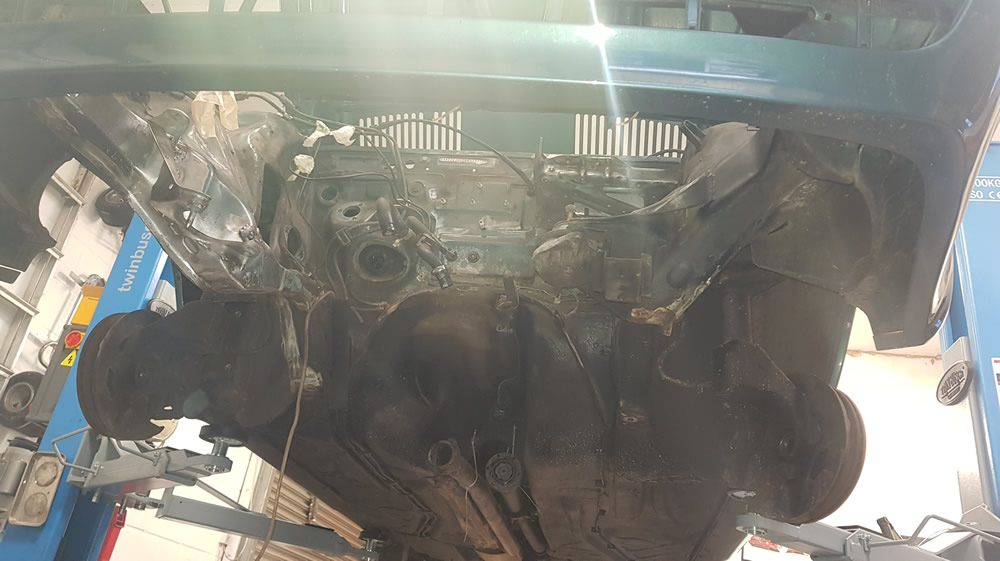
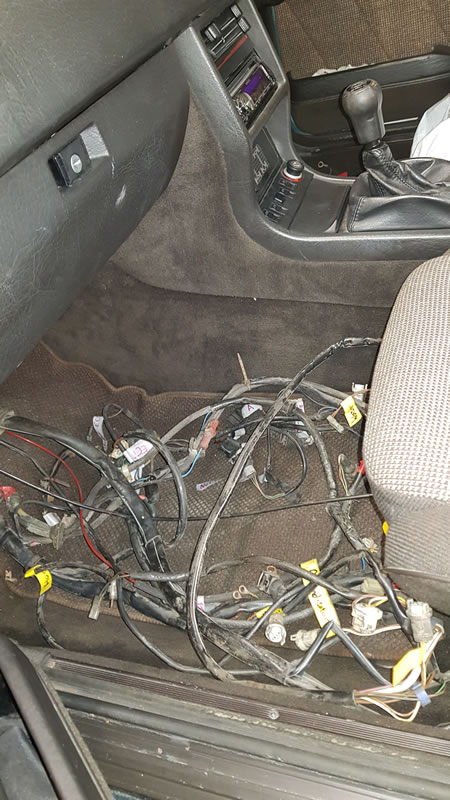
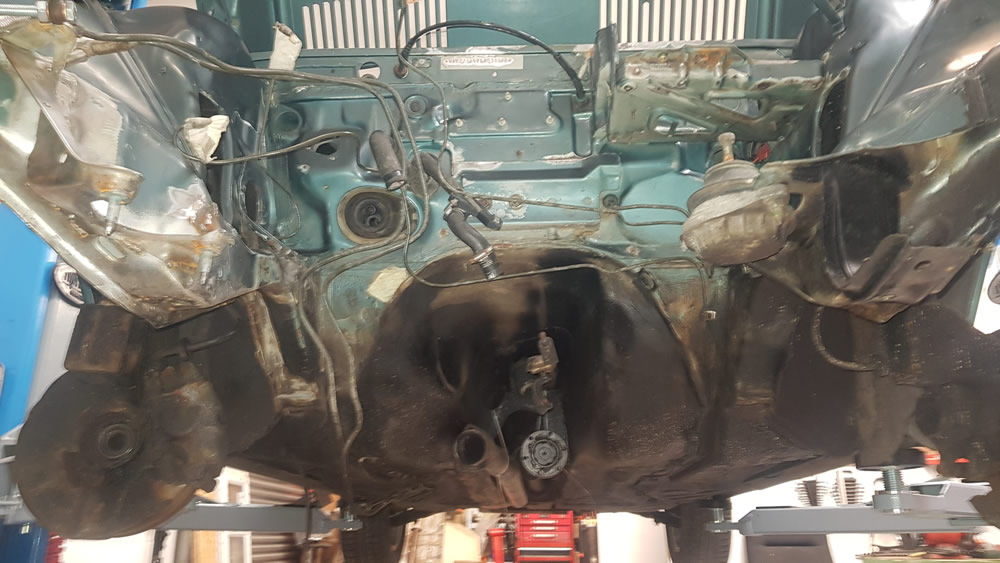
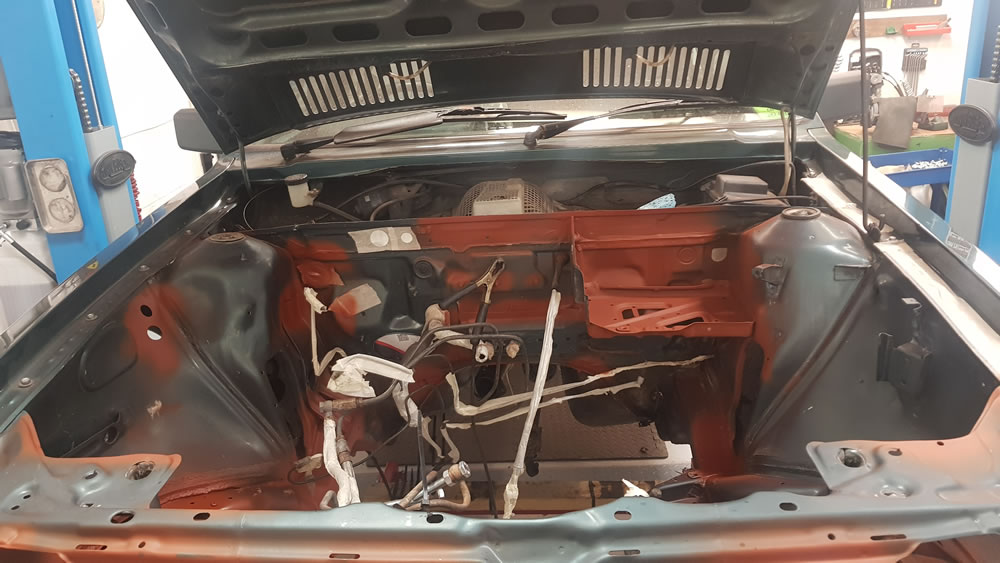
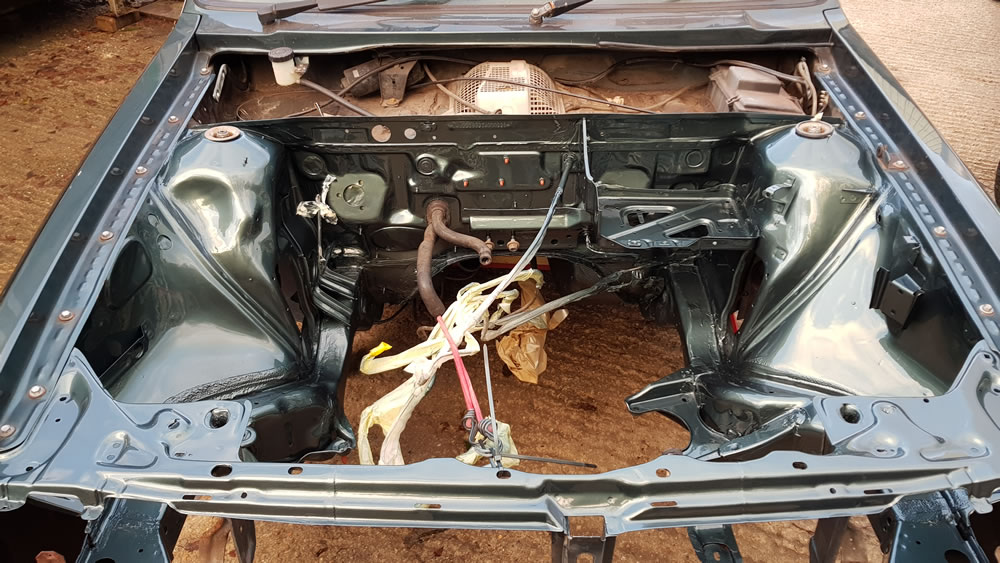
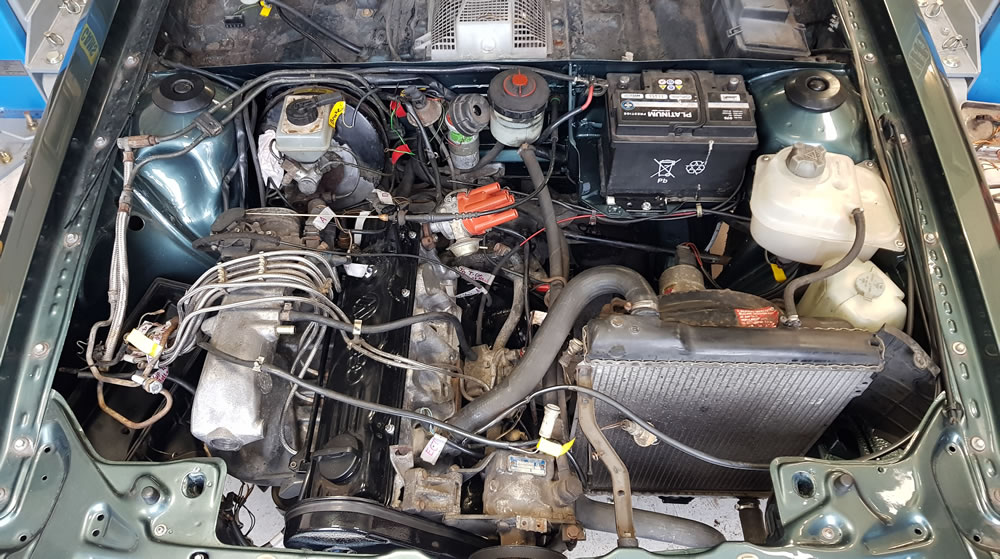
When you see a bit of corrosion on an old car - it's usually worse underneath. Be very wary when you see great globs of underseal - when removed it's probably hiding a less than professional repair, which is rotting underneath the undersealThis hole developed from a poorly executed previous repair, which allowed water to enter the box section and then it rotted from inside out. Although repairs were made near the subframe - this corrosion was not seen under the airbox, and here water entered to wreak havoc on the existing chassis repairHere we've cut all the old rot away - next step to fabricate a repair panelNew Repair Panel in place - this steel has light zinc coating - great for long term life, but you have to be careful to remove the zinc coating by the area you are welding.With the panel now welded in place the repair is taking shape, by the time we've finished it will be hard to see where the repair wasMore progress on the repair to correct corrosion by the front subframe mountHere's how the chassis leg, which had the big hole hiding under the K-Jetronic airbox, is looking now, as the major welding nears completionOriginally we were only going to address a few minor areas of corrosion. Now we are going to repaint the engine bay, courtesy of our local body shop. This meant removing the steering rack, brake servo, and wiring, to facilitate engine bay painting. Next job remove 30 years of grease and grime. The wiring loom pushed back through the bulkhead. The end result would be ruined if you had all your wires sprayed in Lhasa Green.There's a reason why the paintshop won't do engine bay work unless it's degreased first. It takes forver. You degrease, clean and then rinse and repeat. Then just when you think it's grease free and go over with Scotchbrite and panel wipe, you see the Scotch is going black from yet more grease. There's a 911 specialist in the North of England that take 1000 hours on body shell preparation (not paint!) alone. The next step is to use the amazing Buzz Weld Rust Encapsulator, and then she's booked in for paint this weekEngine Bay ready for paint now. We've used Buzz Weld Rust Encapsulator to prime the bare metal repaired areas, and the same product inside the box sections. Here is the engine bay finished! Rolling the chassis on a dolly, up to the paint shop was fun, but many men made light work of it. The end result justifies all the effort. It wouldn't have looked this good when new :-)She's nearly ready to run...All finshed ! Lovely 5 Cylinder noise is back.A shot of the Audi 90 outside our workshop
The Audi 90, showing off its elegant Giugiaro lines, outside the Golding Barn Raceway
We are able to offer a variety of services from a simple sill repair for an MOT, right up to more extensive chassis repair like this Audi 90. So please get in touch today to discuss your chassis repair requirements. Read our blog about Toyota GT-Four ST 205 Restoration or see all blog posts on Restoration
Stop the need for these major rust repair works by getting Balance Motor Works to Lanoguard your car


Recent Comments